

0.
400
gm/l
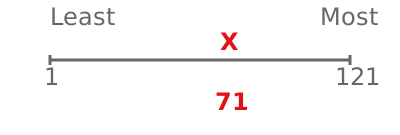
If sour
Extract moreIf bitter
Extract lessThere’s less than a 10% chance this recipe will be ideal for your roast level. However, if you’ve measured the density, your chances of success soar to 68%. The AeroPress recipe series is designed for this: taste your cup, then move up the series for more extraction or down for less. Don’t hesitate to experiment with another recipe based on your taste test results—finding what tastes best for you is worth it!
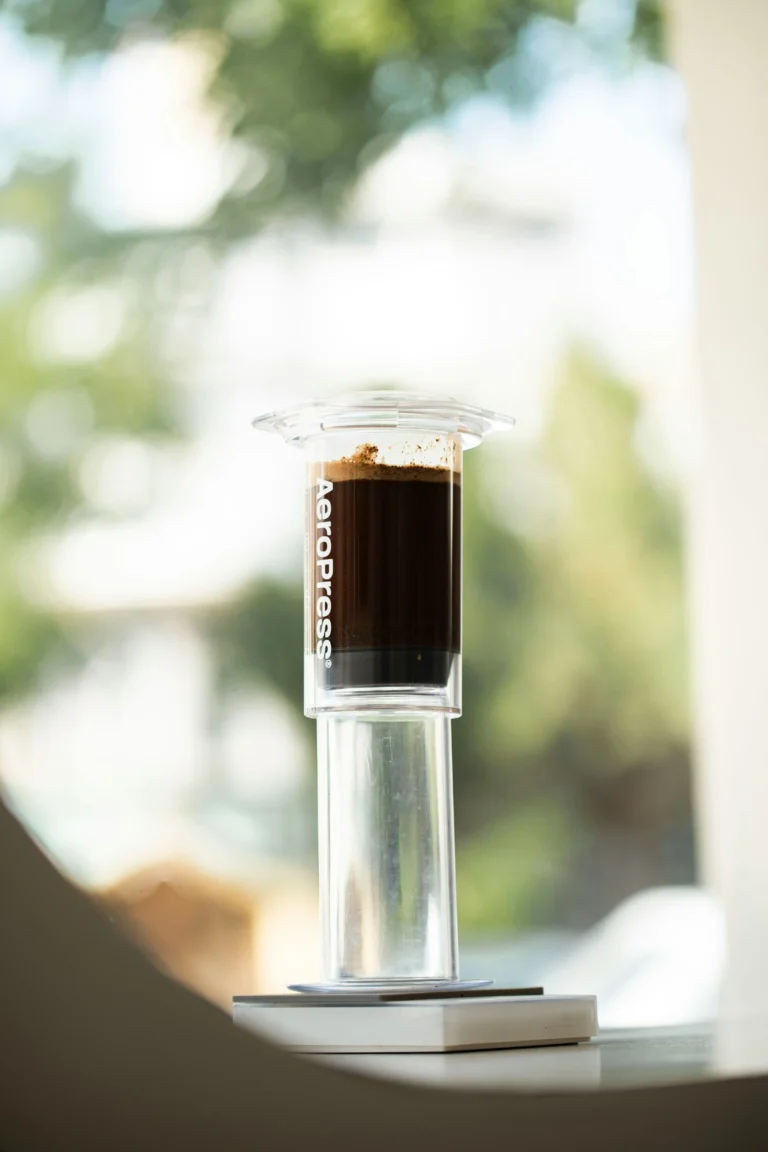
Photo by Monaz Nazary on Unsplash
Dose
18.9
gm
Brew water
90
gm
Concentrate ratio
4.8
Cup weight
200
gm
Ratio
16
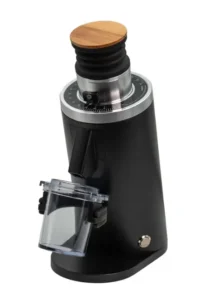
DF54
36.7
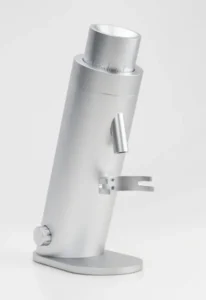
Option-O P64
2.5
Temp
89
°C
Steep time
01:00
min
Medium/City
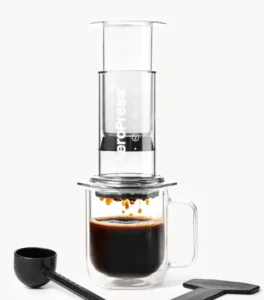
This follows World AeroPress Championship practice: brew a strong concentrate, press it into your cup, then top up with water to the cup weight. Use either the inverted method or the Flow Control filter cap. Both stop the coffee dripping through before you press.
Providing you are changing the dose, the ratio, the bits you can, you will be changing the TASTE, and that is what matters. YOU are finding a RECIPE that tastes better than the last recipe you tried.
Heat your water to the temperature shown above. Rinse a paper filter in the filter cap with hot water.
Get your single dose out of the freezer. If you are not single-dosing and freezing your coffee, read How to Store Coffee Beans – 9 tips. While at it, read Best Coffee Beans – Six Purchasing Tips.
Grind your frozen coffee using the grind setting above; do not defrost it.
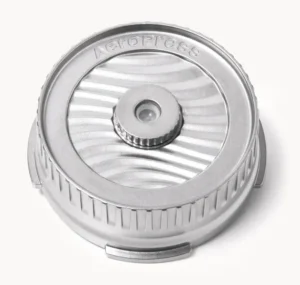
Inverted: push the plunger about 1 cm into the chamber and stand the AeroPress upside down on the scales. Flow Control cap: fit the cap with its rinsed filter and stand the AeroPress upright on a cup or server on the scales.
Add the coffee and tare. Start the timer and pour the brew water shown above, then stir about ten times so every ground is wet. With a dose this high there is very little water, so stir gently but thoroughly.
Inverted: screw on the filter cap and gently push out the air. Flow Control cap: sit the plunger just inside the chamber so nothing drips through. Leave it to steep until the steep time shown above.
Put your cup on the scales and tare. Inverted: flip the AeroPress onto the cup in one smooth movement. Flow Control cap: move it onto the cup. Press slowly and steadily for about 30 seconds, and stop when you hear the hiss.
This is the concentrate. Now top it up with hot water until the cup reaches the cup weight shown above, and give it a swirl. The puck keeps some of the concentrate, so the top-up amount varies a little; just stop at the cup weight.
Now, the most crucial step. Swirl the coffee, dip a teaspoon in and taste. Is the coffee sour? If so, next time you make this coffee, extract more using the recipe indicated by the button above.
If the coffee isn’t sour, ask yourself whether it is very bitter. Bitterness is harder to judge because all coffee is bitter to some extent. However, you can reduce bitterness by extracting less. Go too far, and it will turn sour. You are looking for the calm spot in between. If you need to reduce bitterness next time you make this coffee, extract less by using the recipe indicated by the button above.
I only endorse equipment I have purchased myself, and I do not earn a commission or have any links to the companies I recommend.
A small-volume Typica processed entirely at home by Antonia Fuentes and her family.
Antonia Fuentes grows Typica on her family’s farm. She and her family pick only ripe cherries, pulp them the same day and ferment overnight using a method she has refined over many seasons, then dry the coffee slowly on patios under her daily watch.
The Sierra Sur of Oaxaca, in southern Mexico, has forested slopes where coffee grows under shade.
ORIGIN: SIERRA SUR, OAXACA, MEXICO
FARM: RANCHO LA PERLA
PRODUCER: ANTONIA FUENTES
VARIETY: TYPICA
PROCESS: WASHED, PATIO-DRIED
Typica is one of the two main heirloom lines of Arabica, known for clean, sweet and delicate cups.
Pulped the same day, fermented overnight, then dried slowly on patios.
Sightglass Coffee roasts in San Francisco, California, in the US, and builds long-term relationships with individual producers.
Model Version:
20261009.06
I have a dream: that this might raise the standard of coffee-making globally, reduce dialling in waste, time, and frustration, and encourage people to explore more varieties and pay more attention to the producers. You might even be prepared to pay more for better coffee if it pleases you, returning more money to growers.
You can help. The best thing you can do is spread the word on other platforms, such as Reddit or Facebook coffee forums, and share with others how this method can solve everyday problems.
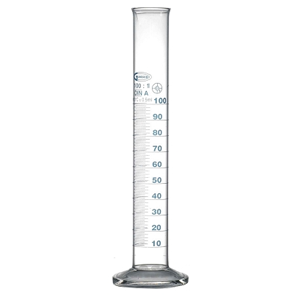
Using 0.1g accurate scales and the recommended 100ml measuring cylinder, and entering quality data into the form, helps improve the model. So does evidence-based feedback for parameter range adjustments.
You can also support the site financially via Buy me a coffee to help with ongoing running costs, site hosting fees, and plug-in subscriptions.